Do you ever have those nights where you’re supposed to be going to sleep, but then you see a short video before bed, and inspiration strikes?
That’s what happened with this project.
Have I finished all my other projects? Not quite. Do I have any regrets starting another? Nope.
To start, this was my inspiration: https://youtu.be/HU5Qq97cxvU

A perfectly valid project to undertake.
I decided this would be a project worthy of attempting the chunky yarn hack, so here we are.
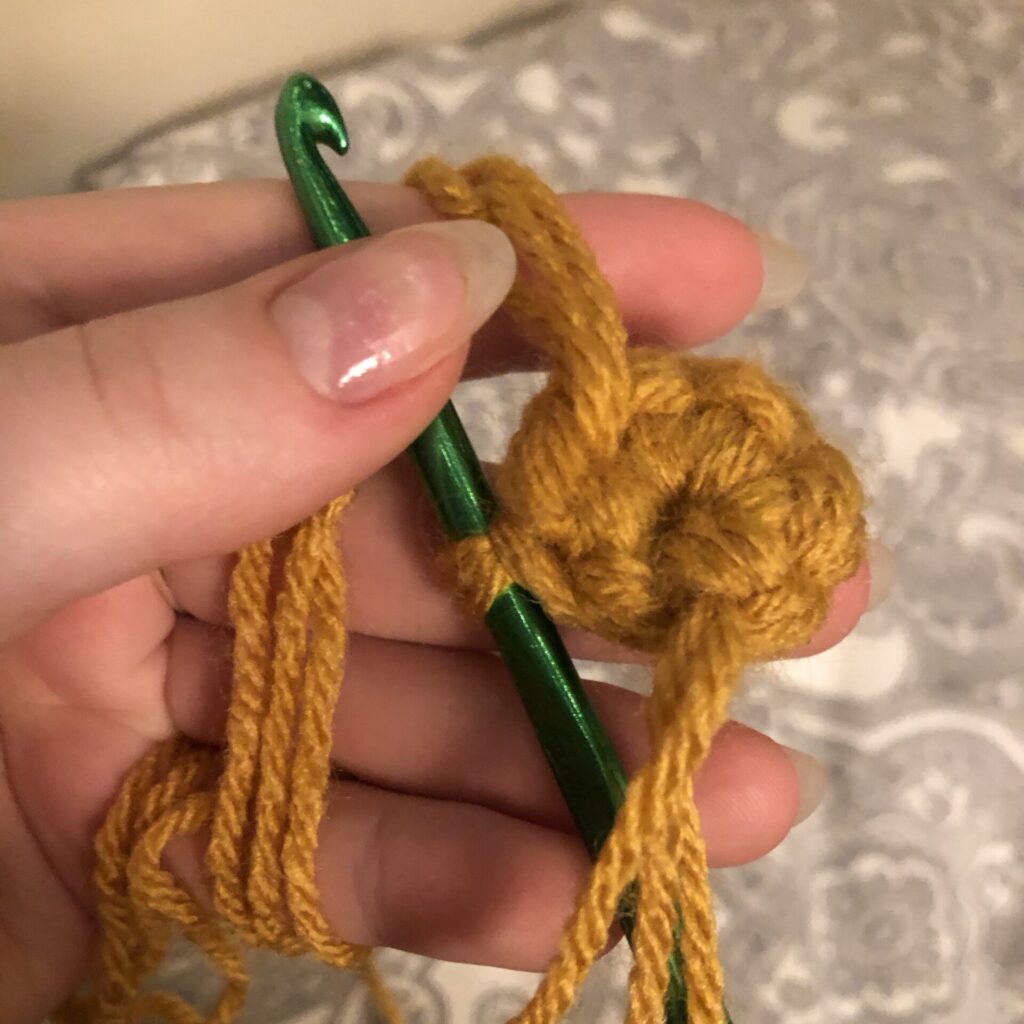
I started by crocheting 6 sc into a magic circle, and then I increased in each stitch for row 2, ending with twelve stitches. The extra strands of yarn proved to be a tad messy, but I think that, as I keep going, it will get better.
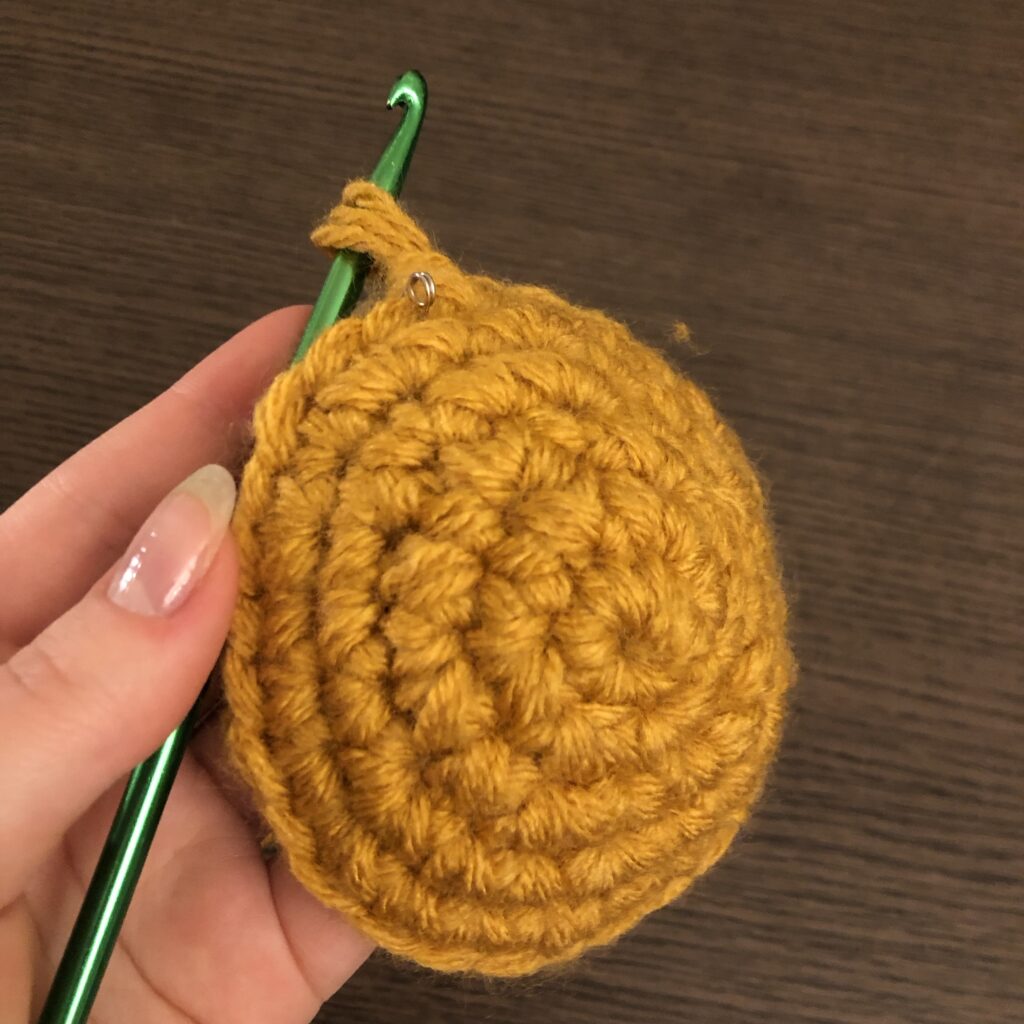
Here we have 5 rows. In the middle of the fifth row, my dorm building’s fire alarm went off, so I had to leave it for a few minutes, and when I came back, I forgot where I was, so I somehow ended up with 30 stitches instead of 32. But I didn’t feel like undoing it, so I just continued.
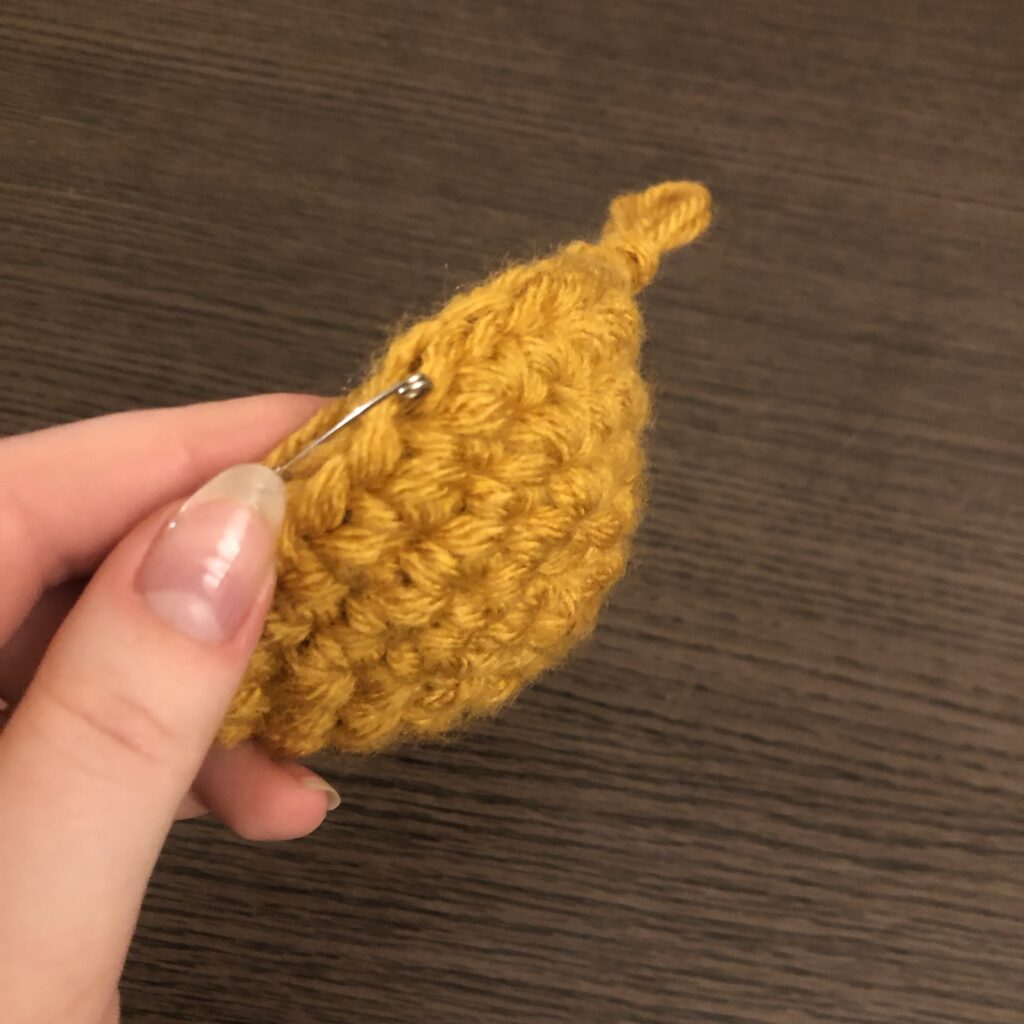
Here it what it looked like mostly through the 6th row. And it was here that I realized, Pusheen Baguette has ears. I had forgotten about the ears. I debated for a moment undoing it and going back to add ears, but then I decided it would be easier to just crochet the ears after this is done and sew them on later. So I continued.
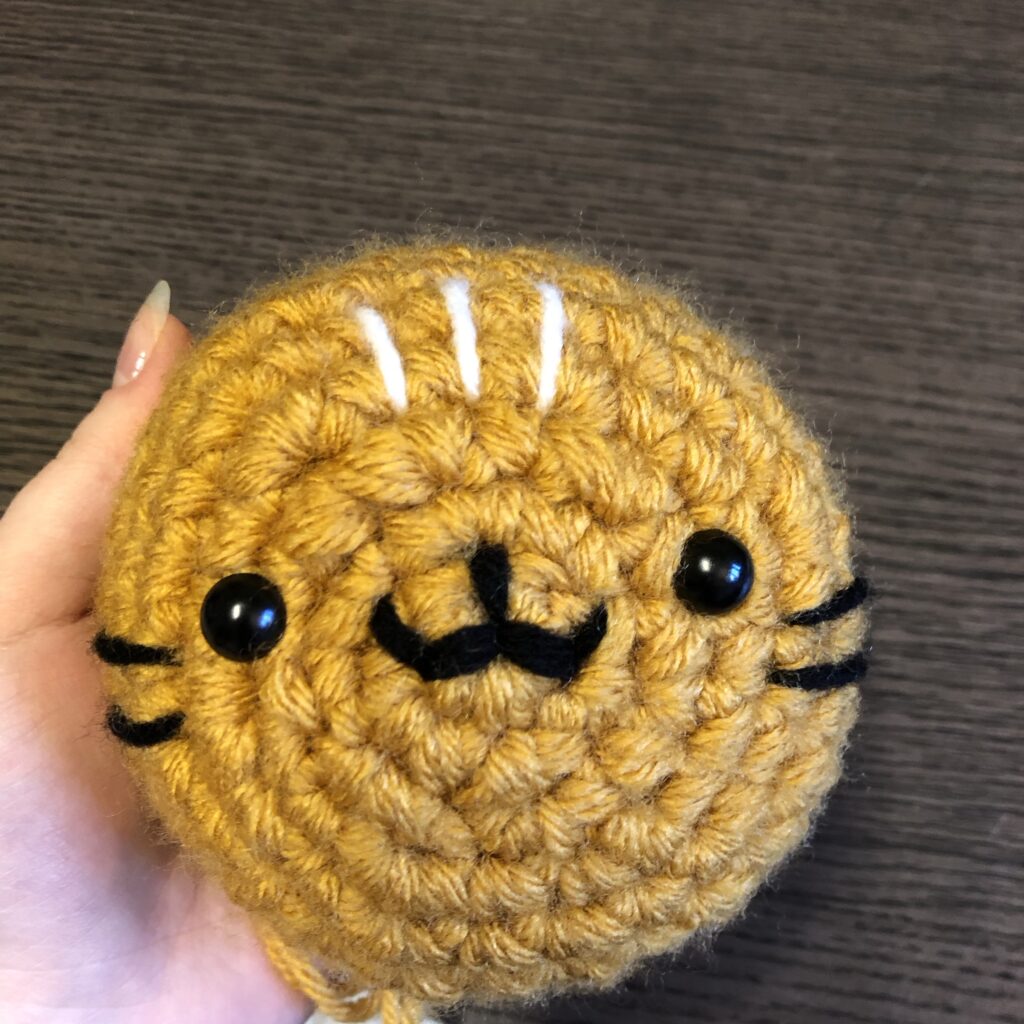
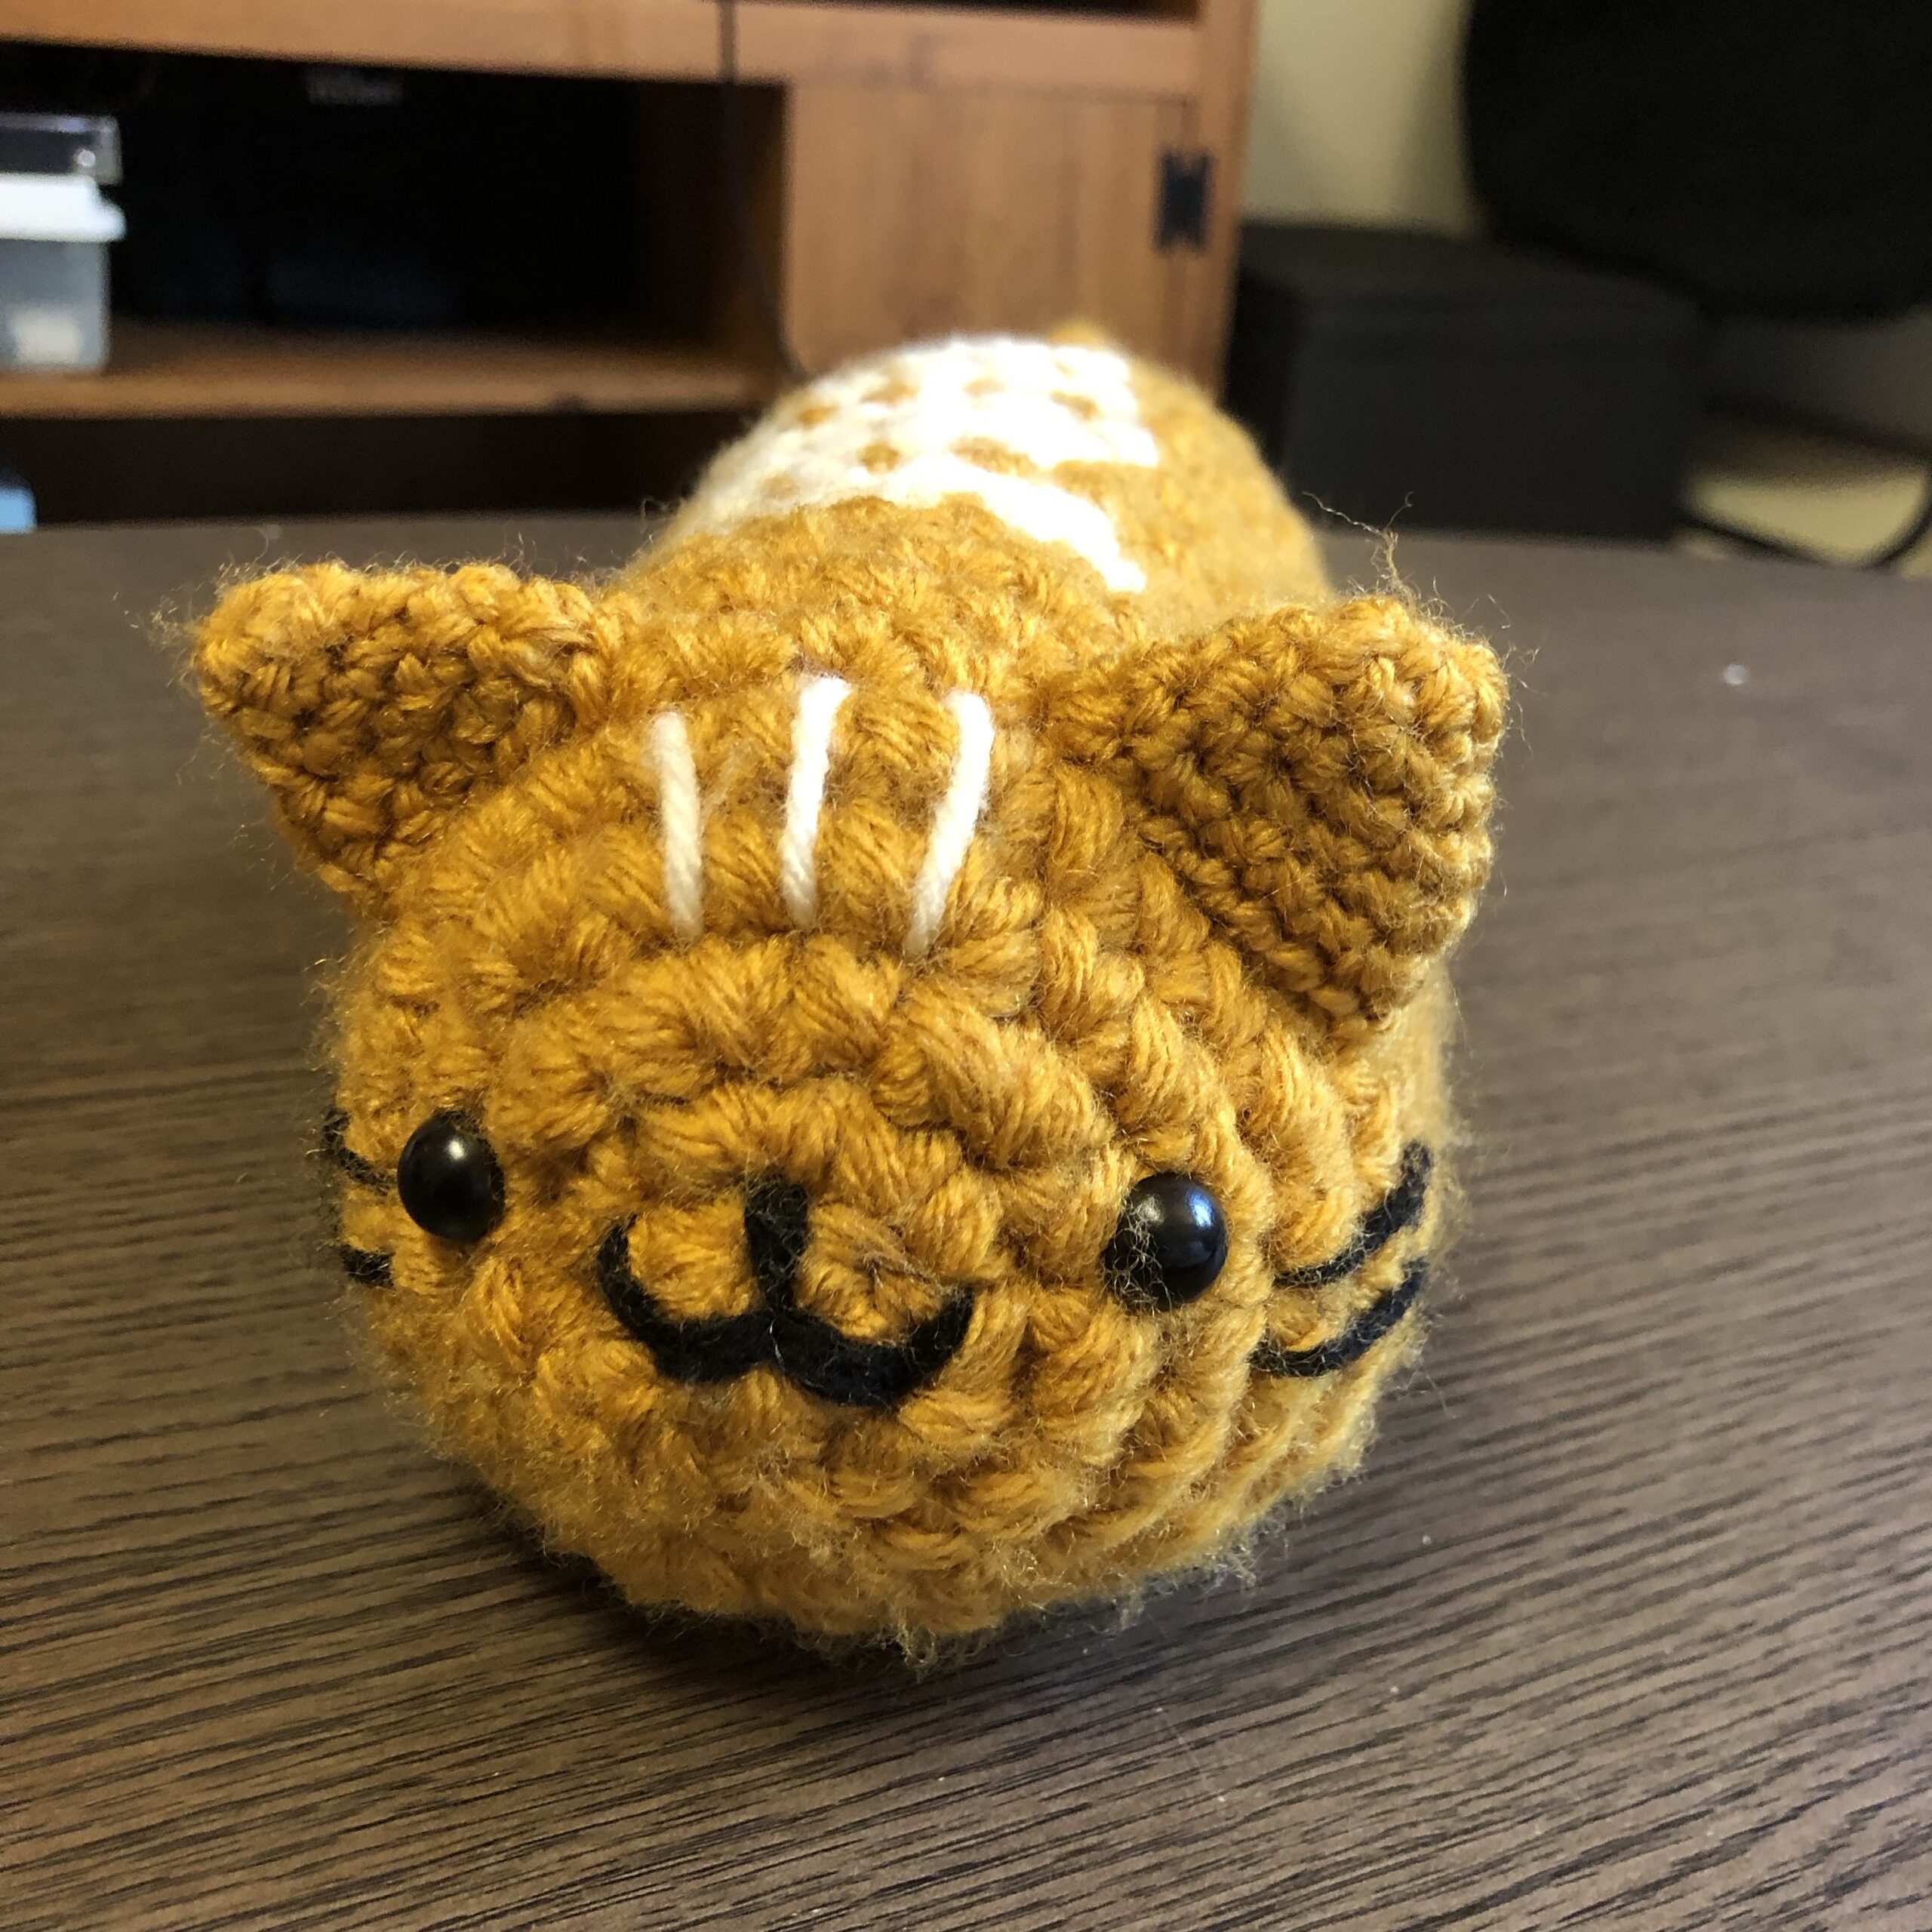
He has a face! The nose and mouth proved to be especially tricky, but I finally got something that with which I am satisfied!
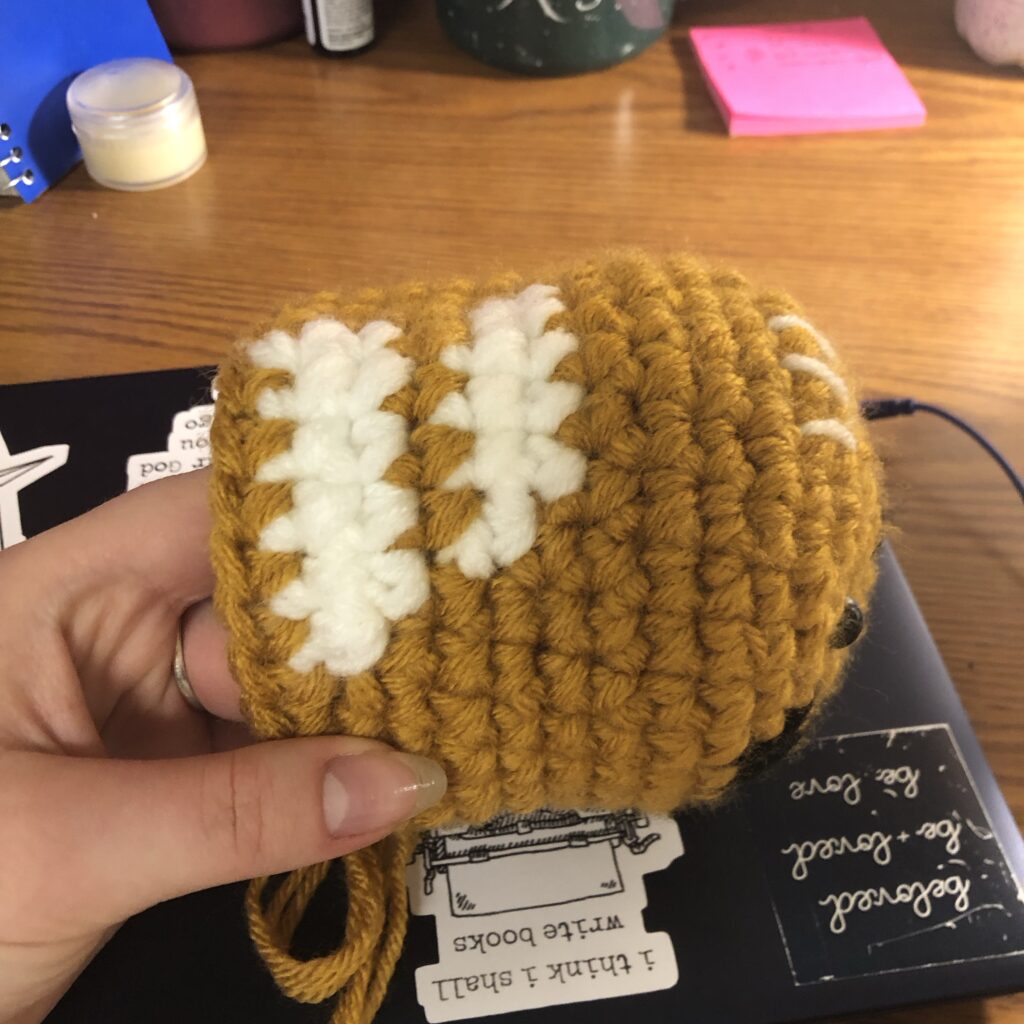
First two rows of white are done! I had to completely eye-ball these, and then I kept forgetting how to get the clean transition between colors, so the rows are a little wonky. But they are still very adorable for him.
Another thing I began to do by about row 6 is to use the yarn-under sc instead of yarn-over. This created a tighter and more unified stitch that will be more apparent by the end.

More rows of white! They all ended up a little crooked because I truly can’t count, but they’re cute!
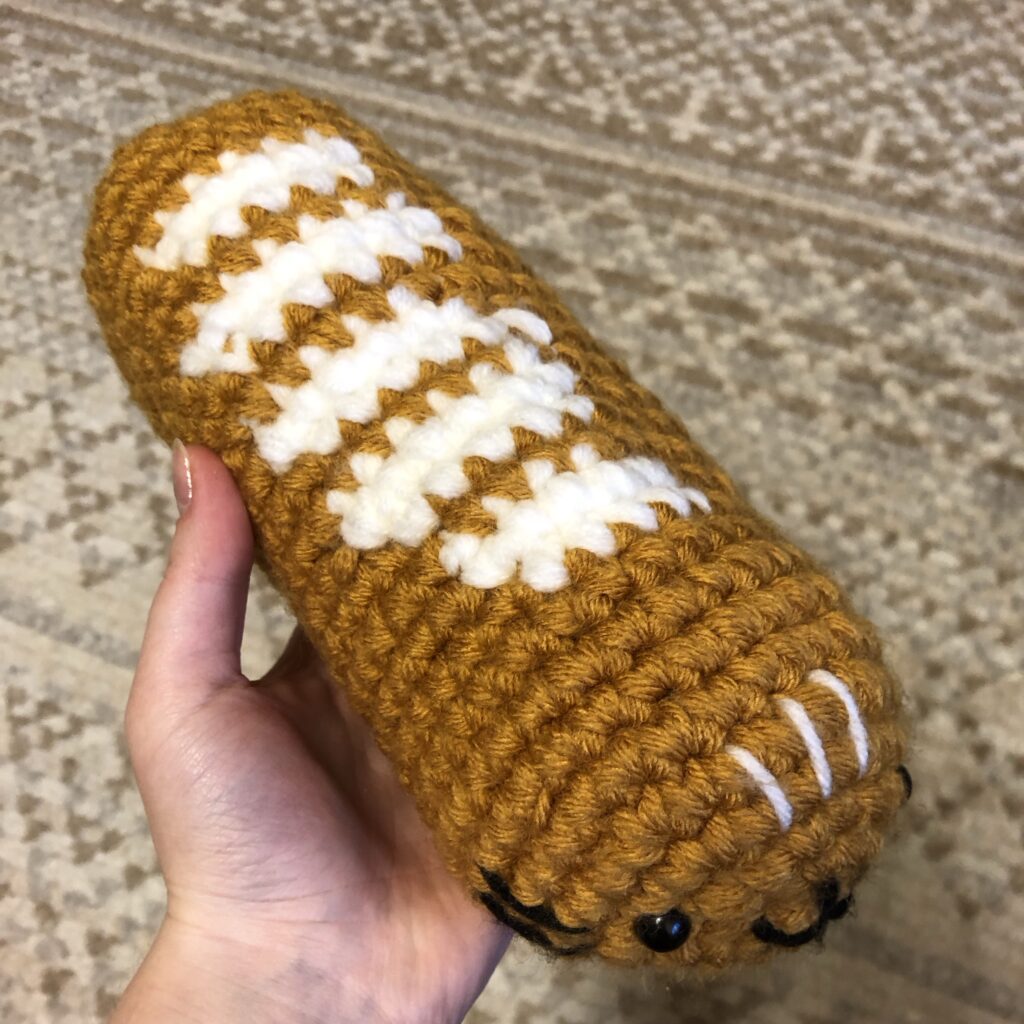
And here is a fully-baked loaf body! No ears or tail yet, but the body is done, and it is beautiful. 🙂 I wish I had made it maybe 2-3 rows longer, or perhaps only 24 sc wide instead of 30, but I am still very happy with how he turned out!
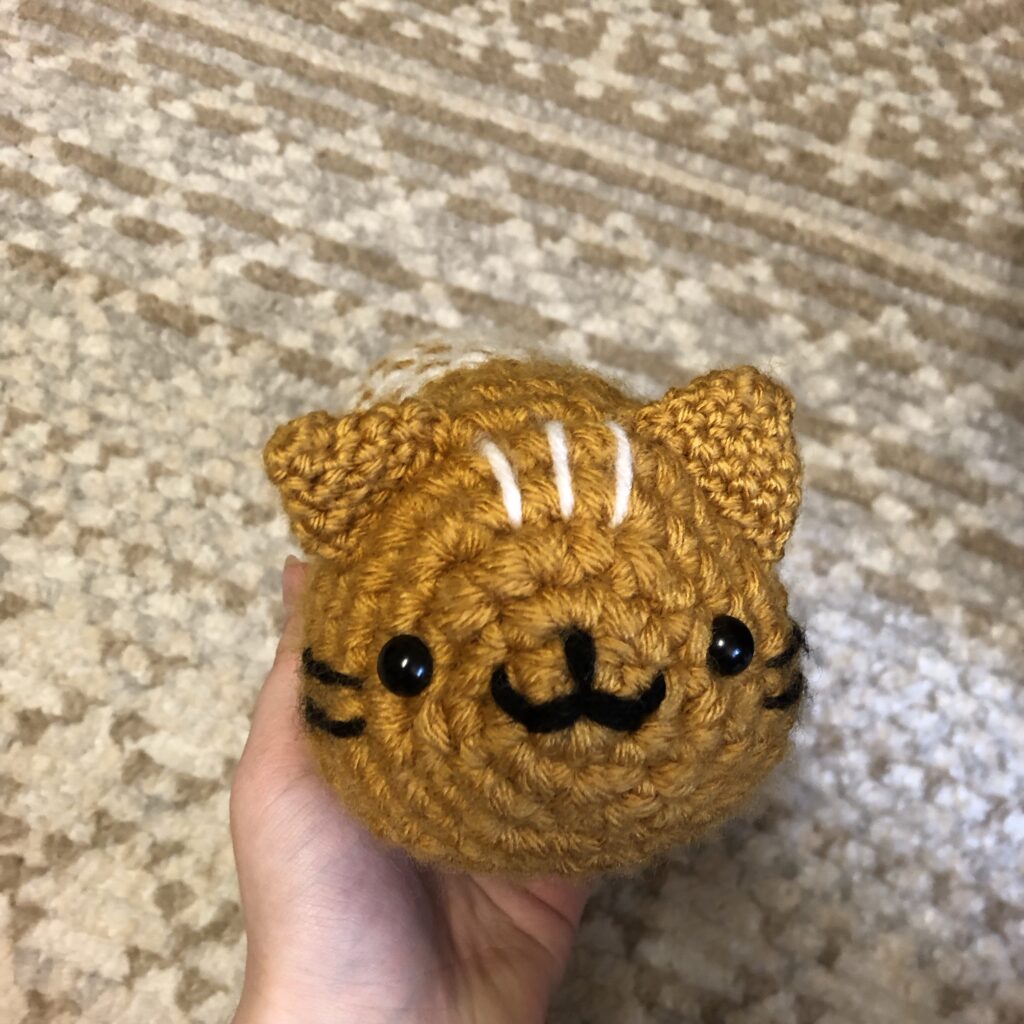
Ears! I don’t know what it is about ears, but the second one took me like eight tries to finally work out. But now he has beautiful little ears for hearing.

A tail!
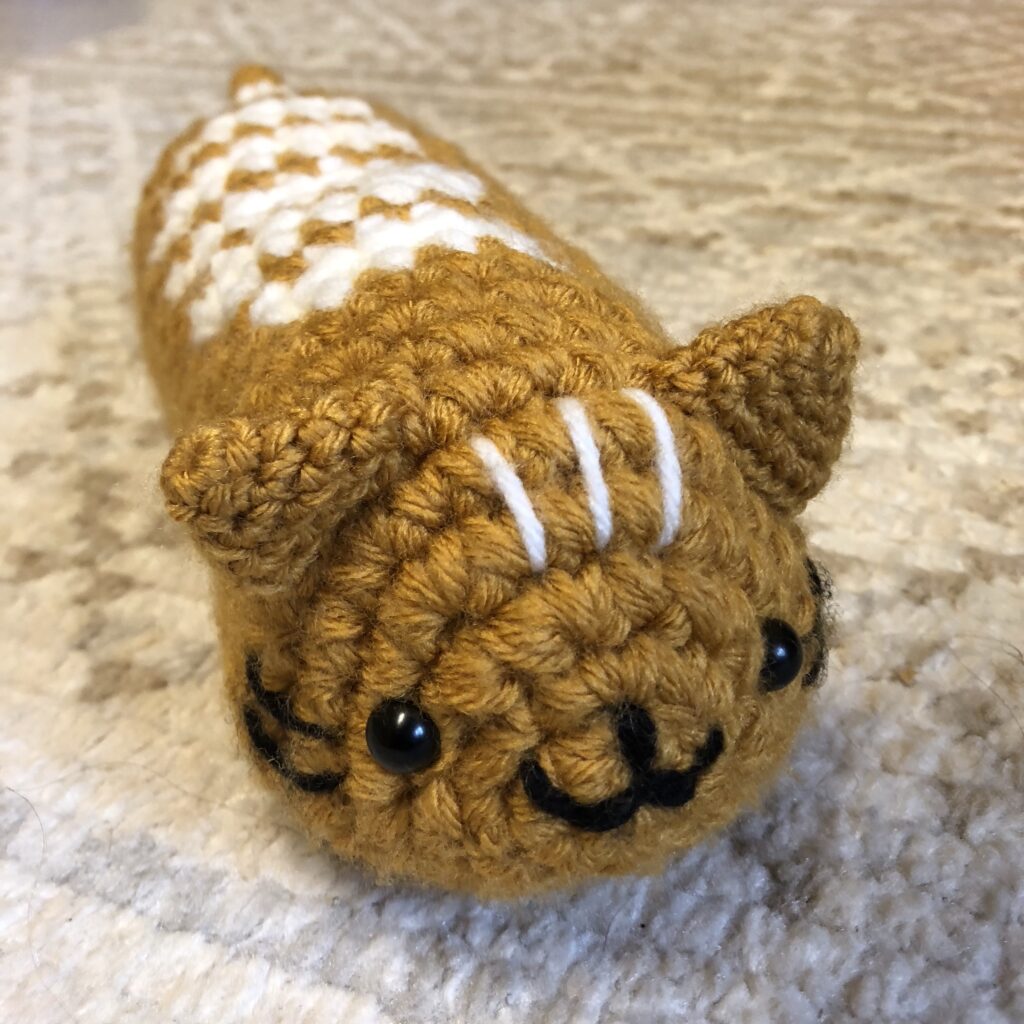

And here he is! Loaf the Bagcat! All finished and ready to begin his adventures as a purring loaf of bread. 🙂
My pattern, so that all of you can also create a loaf cat!
SUPPLIES:
- regular weight acrylic yarn in two colors (I used orange and white). (Note: If you use the chunky yarn method as well, it will use about the entire skein of yarn.)
- Black yarn for face detail
- I/5.25mm crochet hook
- G/4.00mm crochet hook
- Safety eyes of a medium size (I think I used a 10mm but I’m not certain)
- Darning needle
- Polyfill or other stuffing of choice
TERMS:
- sc: single crochet
- 2sc: 2 single crochets in one stitch (increase)
- dcr: decrease (one single crochet in two stitches)
Body:
Adjustable loop – 6 sc
2: 2sc in each stitch (12 sc)
3: sc 1, 2sc in next stitch – repeat 6x (18 sc)
4: sc 2, 2sc in next stitch – repeat 6x (24 sc)
5: sc 3, sc in next stitch – repeat 6x (30 sc)
6-10: sc 30 (30 sc)
Around row 8, you will want to add the nose, eyes, whiskers, and forehead detail.
11: sc until you get about 3 stitches from the top of the cat. Sc 5 in color two, and then finish the round in color one. (For mine, due to the placing of my cat’s face, I did sc 15 in color one, sc 5 in color two, sc 10 in color one.) (30 sc)
12: sc the same number of stitches as the previous row + 1. Sc 5 in color two, then finish the round in color one. (30 sc)
13: sc 30 in color one
14-25: repeat rows 11-13 4x
26-28: sc 30 in color one
29: sc 3, dcr 1 (24 sc)
30: sc 2, dcr 1 (18 sc)
Add stuffing here.
31: sc 1, dcr 1 (12 sc)
32: dcr 6
Using darning needle to close off.
Ears:
Sc 5 on an adjustable loop
2: sc 5 (5 sc)
3: sc 4, 2sc in next stitch – repeat 2x (12 sc)
4: sc 5, 2sc in next stitch – repeat 2x (14 sc)
Make 2 and sew onto the face of the cat.
Tail:
Sc 7 on an adjustable loop
2-3: sc 7 (7 sc)
3-4: switch to color two and sc 7 (7 sc)
5-7: sc 7 in color one (7 sc)
8-9: sc 7 in color two (7 sc)
10-14: sc 7 in color one (7 sc)
Sew onto the back of the cat.
Recent Comments